How to use the Gallery section?
The Gallery section is used to add images, which you can organize into albums. You can create as many albums as you like and upload any number of images into each one.
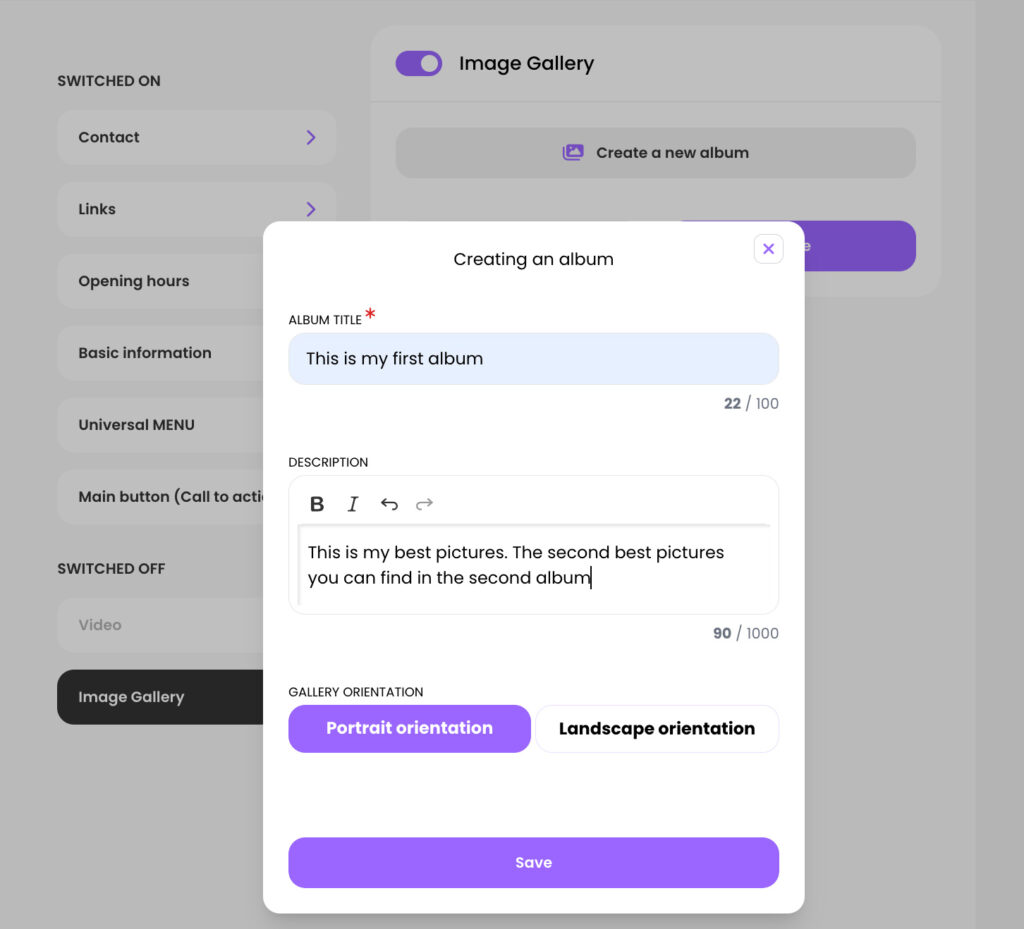
Start by clicking the Create New Album button. In the next window, enter the album name.

You can also add an album description. This description is optional and can be used to provide additional information about the album if needed.
Album orientation allows you to specify whether your photos (or most of them) are in portrait or landscape format. This setting affects how the photo previews are displayed in the Album.
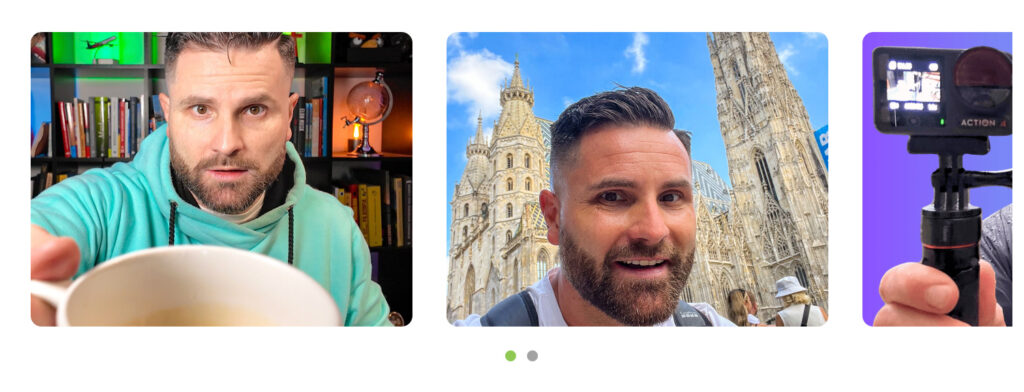
Here is an example of a portrait-oriented album:

Here is an example of a landscape-oriented album:

Note: You must first save the newly created album and then reopen it before you can start adding images.
You can now add images by clicking the pencil icon.

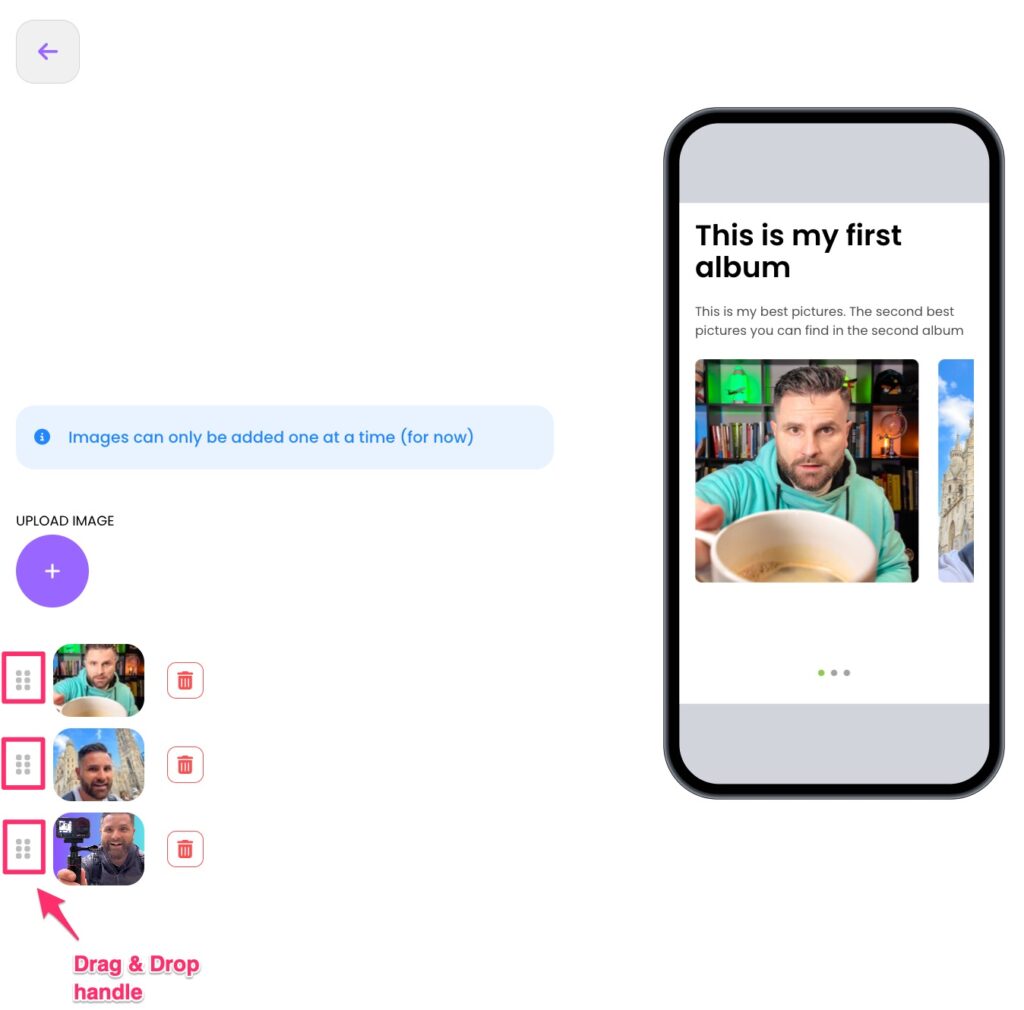
Currently, images can be added one by one by clicking the Plus icon. (We are working on enabling bulk uploads in the future).
After uploading all the images you want to include in the album, you can rearrange their order by dragging and dropping them using the Drag and Drop handle.

When you’re happy with the Album, return to the previous screen by clicking the Back button at the top of the screen, and then click Save at the bottom.
You can create additional Albums in the same way.
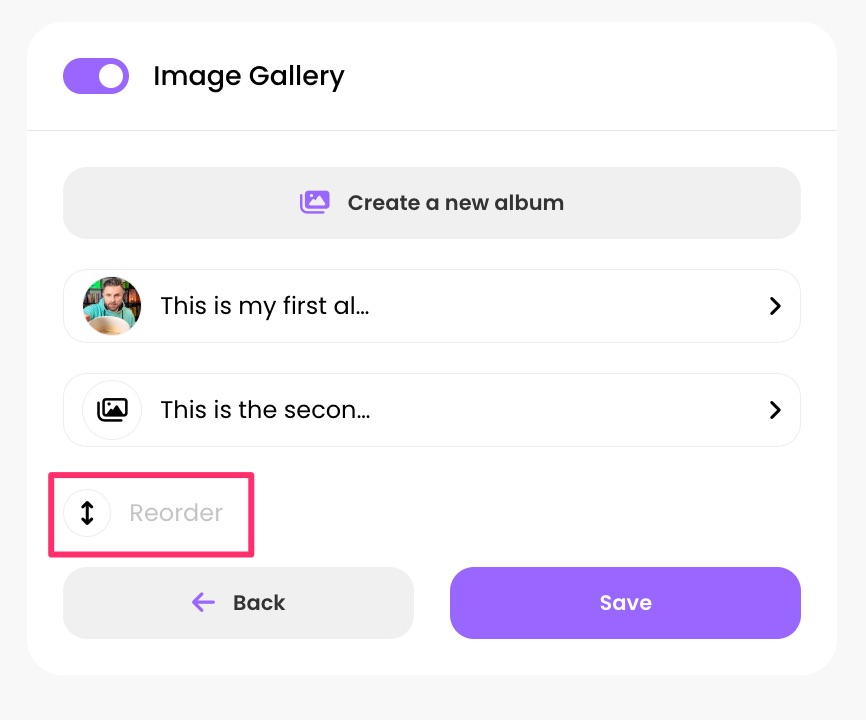
If you have more than one Albums, you can change their order using the Reorder button:

